Updating the BIOS (Basic Input/Output System) or UEFI (Unified Extensible Firmware Interface) on your ASUS motherboard is a critical maintenance task. A BIOS update can introduce support for newer CPUs, fix stability issues, improve memory compatibility, and patch critical security vulnerabilities.
However, if performed incorrectly, a BIOS update can lead to system instability or, in the worst case, brick your motherboard. To ensure a successful and safe update process, this guide provides detailed, step-by-step solutions, starting with the essential preparation needed for system stability.
Part I: Driver Integrity and System Preparation
A common cause of failure during BIOS updating is instability caused by outdated system chipset or power management drivers. Ensuring these core components are functioning optimally before starting is the best defense against errors.
Automated Driver Update with Driver Talent X
Manually updating the drivers for the motherboard chipset, power controllers (ACPI), and other core system devices can be tedious. A specialized utility automates this process, ensuring that the necessary firmware-related drivers are perfectly stable before the BIOS update begins.
Download and Install:
Click the "Download" button to download the software package.
Install it on your PC.
Run Scan:
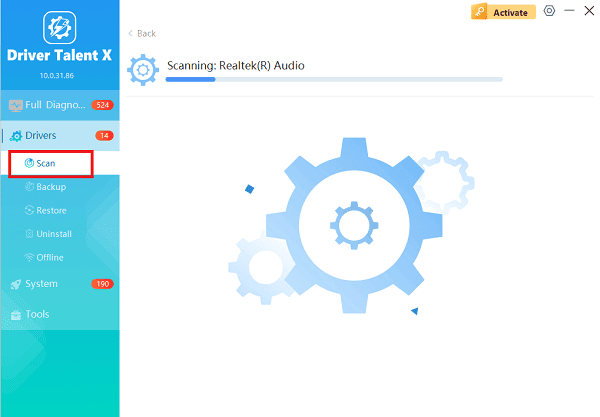
Launch the application and go to "Drivers" > "Scan", click "Scan".
The software will perform a deep analysis of your system, focusing specifically on the motherboard's core drivers.
Execute Update:
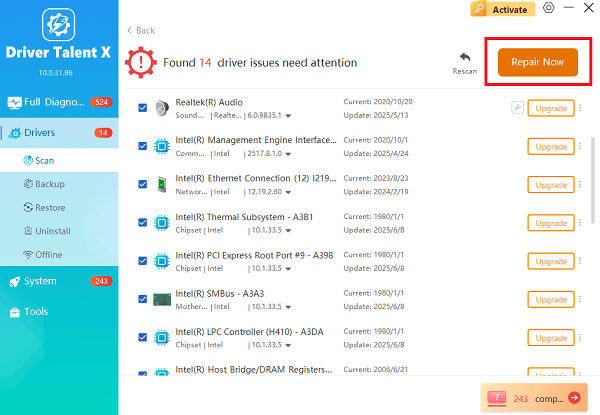
After the scan is complete, the software will display a list of all drivers that need attention.
Select the necessary drivers and click the "Upgrade" or "Repair Now" button. Driver Talent X will download the latest, certified versions specific to your ASUS motherboard.
Finalize:
After the installation is complete, restart your computer to integrate the new drivers fully.
Part II: Official ASUS BIOS Update Methods
ASUS provides several reliable methods for updating the BIOS, primarily through its built-in utility (EZ Flash) or through a feature that doesn't even require booting the PC (BIOS FlashBack).
Method 1: Updating via ASUS EZ Flash
This method is performed directly within the BIOS/UEFI interface.
Identify Current BIOS: Press Windows Key + R, type "msinfo32", and check the "BIOS Version/Date" to see your current version.
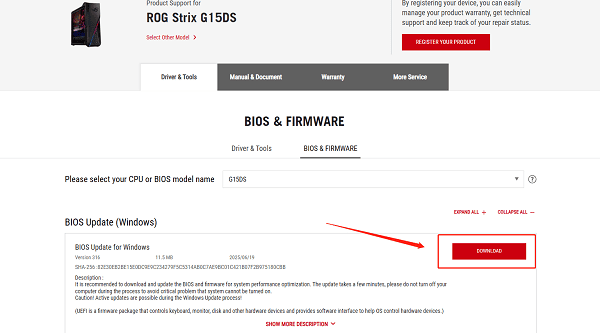
Download BIOS File: Visit the official ASUS Support website, search for your specific motherboard model, and download the latest BIOS file.
Prepare USB Drive: Unzip the downloaded file and place the BIOS file (it will have a .CAP or .ROM extension) onto a FAT32 formatted USB drive.
Enter BIOS: Restart your PC and repeatedly press the DEL or F2 key to enter the BIOS/UEFI interface.
Run EZ Flash: Navigate to the "Tool" tab and select "ASUS EZ Flash 3 Utility".

Execute Update: Select the USB drive and the BIOS file. Confirm the update. DO NOT turn off the PC or interrupt the process. The system will reboot automatically when finished.
Method 2: Updating via BIOS FlashBack
Many modern ASUS motherboards feature BIOS FlashBack, which allows you to update the BIOS without a CPU, RAM, or even a working system.
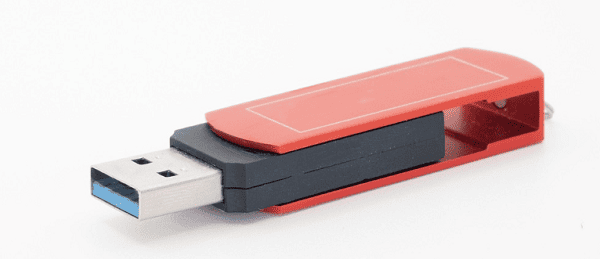
Rename File (Crucial): Download the BIOS file. Use the specific BIOS Renamer tool provided on your motherboard's support page to rename the file (e.g., from X570TUF.CAP to X570.CAP). Place the renamed file on a FAT32 formatted USB drive.
Use FlashBack Port: Insert the USB drive into the dedicated BIOS FlashBack USB port (usually marked with a white outline or text on the I/O panel).
Activate: Press and hold the BIOS FlashBack button (often on the rear I/O panel) for three seconds until the light begins to flash.
Wait: Wait until the flashing light stops. This indicates the update is complete.
Part III: Post-Update Checks and Configuration
After any BIOS update, it is crucial to re-configure certain system settings.
Load Default Settings and Re-enable XMP/DOCP
The BIOS update resets all custom settings, which can cause instability if not reapplied.
Enter BIOS: Restart your PC and enter the BIOS/UEFI (DEL or F2).
Load Defaults: Navigate to the "Exit" tab and select "Load Optimized Defaults" (or similar). Save and exit.
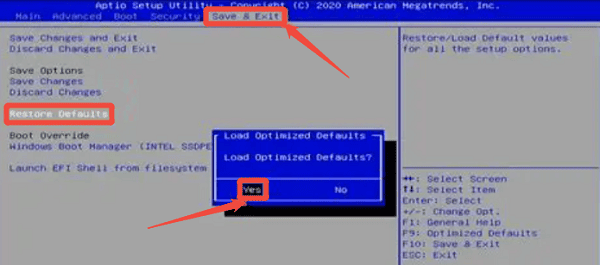
Re-enter BIOS: Re-enter the BIOS immediately.
Re-enable RAM Profile: Go to the "Ai Tweaker" or "Overclocking" section and re-enable your RAM's high-speed profile (usually labeled XMP or DOCP). Save and exit.
Conclusion
Updating the BIOS on your ASUS motherboard is a high-reward, moderate-risk procedure that requires thorough preparation. The most reliable strategy is to first ensure system and chipset driver stability with Driver Talent X.
By combining this foundation with the official ASUS EZ Flash or the safer BIOS FlashBack utility, and critically, reloading your RAM XMP/DOCP settings afterward, you can guarantee a successful, stable, and optimized firmware upgrade.
