The "Driver Not Found", "Driver Unavailable", or similar error messages are among the most common and frustrating issues faced by HP printer users. These errors indicate that your Windows operating system is unable to properly communicate with the printer, usually because the required driver is missing, outdated, or corrupted. Fortunately, this is a software-related problem and can typically be resolved quickly using several effective methods. In this guide, we'll start with the most efficient solution—automating the driver update process—to help you restore full printer functionality as quickly as possible.
Method 1: Update Drivers Using Driver Talent X
Manually updating printer drivers can be complex, involving identifying your exact printer model, checking your operating system version, and navigating manufacturer websites. A specialized driver utility streamlines this entire process, making it the fastest route to resolving a "Driver Not Found" error.
Preparation: Ensure your PC can still connect to the internet (even if the printer is disconnected).
Download and Scan:
Click the "Download" button to download the software package.
Install it on your Windows PC.
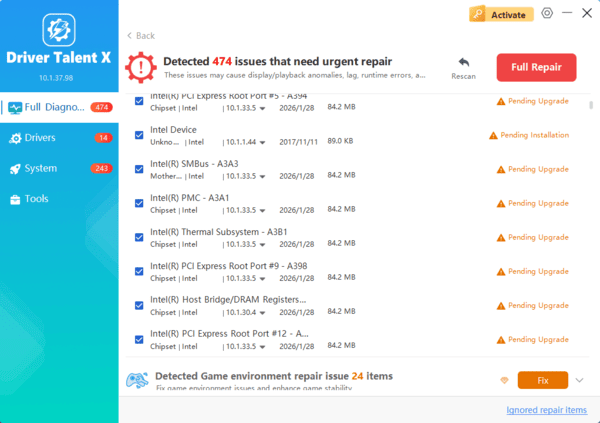
Launch the application. Go to "Drivers" > "Scan", click "Scan". The utility will automatically check all drivers on your PC, specifically highlighting issues with your HP printer driver and other related components.

Identify Printer Driver:
Review the scan results. The software will identify the outdated or missing printer driver for your specific HP model.
It will also check system drivers (like USB or Chipset drivers) that might be contributing to the communication failure.
One-Click Update:
Click the "Upgrade" or "Repair Now" button. Driver Talent X will download the official, compatible driver version.
Restart and Connect:
Once the installation is complete, restart your computer.
After your PC has rebooted, ensure your printer is on and properly connected (via USB or Network). The printer should now be recognized correctly.
Method 2: Windows Built-in Troubleshooting
If the issue persists, Windows itself offers several tools to resolve conflicts between the operating system and connected hardware.
Solution 1: Restart the Print Spooler Service
The Print Spooler service manages print jobs and communication between your PC and printer. If it stops or glitches, it can cause the "Driver Not Found" error.
Press the Windows Key + R to open the Run dialog box.
Type "services.msc" and press Enter.
In the Services window, scroll down to find "Print Spooler".
Right-click Print Spooler and select "Restart".

Try to print a test page. If the error is still present, repeat step 4, then right-click and select "Properties", ensure the Startup type is set to "Automatic" and click "Start" (if the service is stopped).
Solution 2: Run the Windows Troubleshooter
Windows includes a dedicated troubleshooter for printer issues.
Press the Windows Key + I to open Settings.
Go to "Update & Security" (Windows 10) or "System" > "Troubleshoot" (Windows 11).
Select "Other troubleshooters" (Windows 11) or "Troubleshoot" > "Additional troubleshooters" (Windows 10).
Find "Printer" and then click "Run the troubleshooter". Follow the on-screen prompts to allow Windows to diagnose and fix the driver issue automatically.

Method 3: Clean Reinstallation (Manual Steps)
A corrupted driver can sometimes linger, even after an automatic update. A "clean sweep" and manual reinstallation from the source can resolve deep-seated conflicts.
Step 1: Remove All Old HP Printer Entries
This ensures no remnants of the old, broken driver remain to cause conflicts.
1). Press the Windows Key + R, type "control" and press Enter to open the Control Panel.
2). Go to "Devices and Printers" (or "View devices and printers").
3). Right-click on ALL entries related to your HP printer model and select "Remove device" or "Delete".

4). Next, remove the driver package itself:
Press Windows Key + R, type "printui.exe /s", and press Enter.
Go to the "Drivers" tab, select the driver for your HP printer, and click "Remove". Choose "Remove driver and driver package" and click OK.
Step 2: Download the Official Driver
Go directly to HP's support website.
Navigate to the official HP Support website.
Enter your exact HP printer model number (e.g., HP Envy 7855).

Find the "Drivers" section and ensure the selected operating system (Windows 10, Windows 11, etc.) is correct.
Download the Full Feature Software and Driver package (this is usually the largest file).
Step 3: Reinstall
Disconnect the printer USB cable (if applicable) until prompted by the installer.
Run the downloaded setup file and follow the on-screen instructions carefully. The installation program will load the fresh driver and prompt you when to connect your printer.
Conclusion
The "Driver Not Found" error on your HP printer is typically a symptom of outdated or corrupted software, which you can fix effectively using one of the three primary methods above.
For the fastest resolution and ongoing stability, using Driver Talent X is recommended, as it comprehensively checks and updates all system components related to the printer's function. If the issue still persists, the printer itself may have a hardware fault, and you should contact HP Support for further assistance.
