An HP printer cartridge not recognized error can be frustrating, especially when you need to print something quickly. You replace the cartridge, expect the printer to work normally, and instead see a warning message that stops the entire process. This issue is common on many HP printers and can affect both new and partially used cartridges. In most cases, the problem does not mean the printer is broken. The error usually appears because the printer cannot communicate with the cartridge correctly.
Quick Checks to Try First
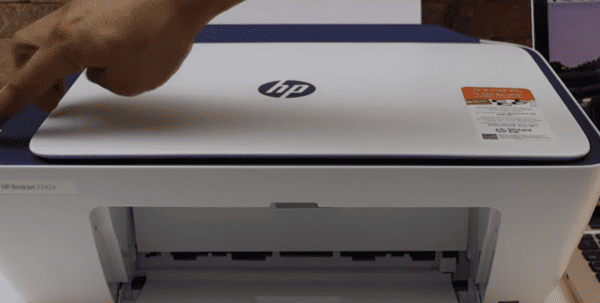
Open the access door, wait until the carriage stops moving, then remove the cartridge that is showing the error. Reinsert it slowly and press it in until it clicks into place
After that, confirm that the cartridge is in the correct slot. Some HP printers use one black and one color cartridge, while others use separate cartridges for each color
You should also inspect the cartridge for any remaining tape or plastic film. If anything is still attached, remove it fully before trying again
Cleaning the Cartridge and Printer Contacts
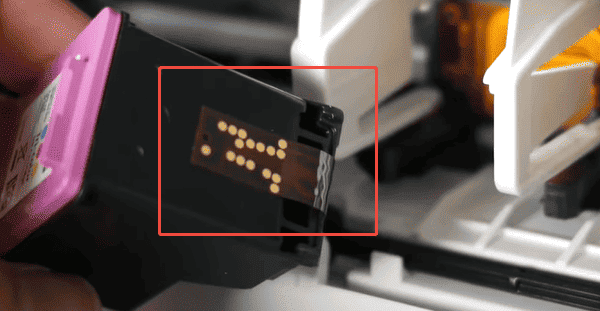
If reinstalling the cartridge does not fix the problem, the next step is cleaning the contacts. Remove the cartridge and examine the metal contact area carefully. If you see dust, smudges, or ink residue, wipe it gently with a soft lint-free cloth
If needed, you can slightly dampen the cloth with clean water, but do not use too much moisture. Let the cartridge dry completely before placing it back into the printer. Moisture left on the contacts can create a new detection issue
Resetting the Printer
Turn the printer off completely and unplug the power cord. Wait briefly, reconnect the power cable, and turn the printer back on. Once the printer restarts, check whether it now detects the cartridge normally
If your printer uses multiple cartridges, it may help to test them one by one. This can reveal whether the issue comes from one faulty cartridge or from the printer itself. If the error appears only after one specific cartridge is installed, that cartridge is the most likely cause

Firmware and Computer-Side Issues
If the printer is connected to a Windows computer, the system side should also be considered. Although cartridge recognition mainly happens inside the printer, unstable printer drivers, USB controller drivers, or chipset-related communication issues can make printer errors harder to diagnose. This is especially true if the printer also goes offline, disconnects randomly, or behaves inconsistently in Windows.
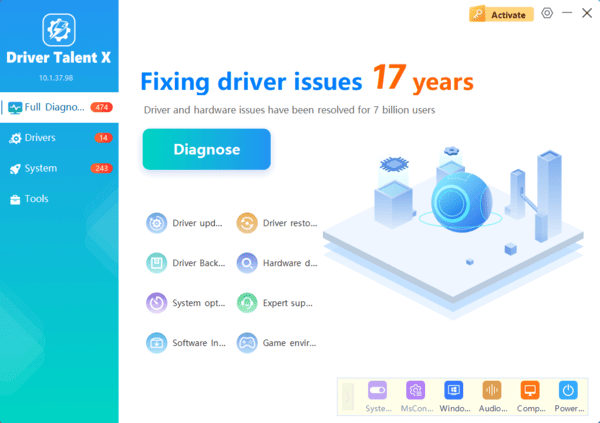
That is where Driver Talent X can be useful. If your HP printer is showing cartridge-related errors together with connection issues, print spooler problems, or unstable printer recognition on the PC, Driver Talent X can help scan the system for outdated, missing, or damaged drivers.
When the Cartridge May Be Defective
Inspect the cartridge carefully under good lighting. If it looks broken, leaking, or otherwise abnormal, replacing it is usually the most practical solution. A damaged cartridge chip or internal cartridge fault generally cannot be repaired
If one specific cartridge continues to fail after reinstalling, cleaning, resetting, and compatibility checks, replacement is the next logical step. If a new compatible cartridge works normally, the original cartridge was clearly the problem
Conclusion
An HP printer cartridge not recognized error is annoying, but it is often caused by a simple issue rather than a serious failure. In many cases, the fix is straightforward: reinstall the cartridge, remove all protective tape, clean the cartridge and printer contacts, restart the printer, and confirm cartridge compatibility. If none of these steps solve the issue, the most likely cause is either a defective cartridge or an internal printer hardware fault. Testing a new compatible cartridge is usually the fastest way to narrow down the real cause.
