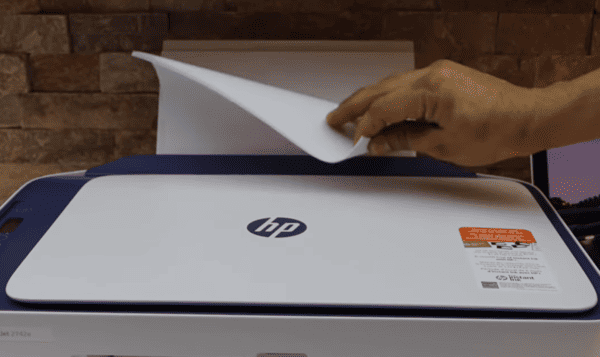
You send a print job, hear the printer working, watch the paper feed through — and it comes out completely blank. No error message, no paper jam, just an empty page. This is one of the more confusing printer problems because the printer appears to be functioning normally. The issue is either with the ink or hardware consumables, or with the software and driver handling the print job. This guide separates the hardware causes from the software causes and gives you a clear path to fixing each one.
Common Causes of Blank Pages on HP Printers
Empty or critically low ink cartridges are the most frequent cause. New cartridges with protective tape still attached produce the same result. On HP inkjet models, a clogged or dried-out printhead stops ink from reaching the paper entirely
On the software side, a corrupted printer driver can cause Windows to send incorrect or empty data to the printer. A stuck print job in a corrupted queue can cause every subsequent job to print blank
The document itself is also worth checking — white text on a white background or invisible objects in a PDF produce blank output that has nothing to do with the printer
Fix 1: Check Ink or Toner Levels
Low or empty cartridges account for a large percentage of blank page complaints, and they're the first thing to verify before investigating anything else
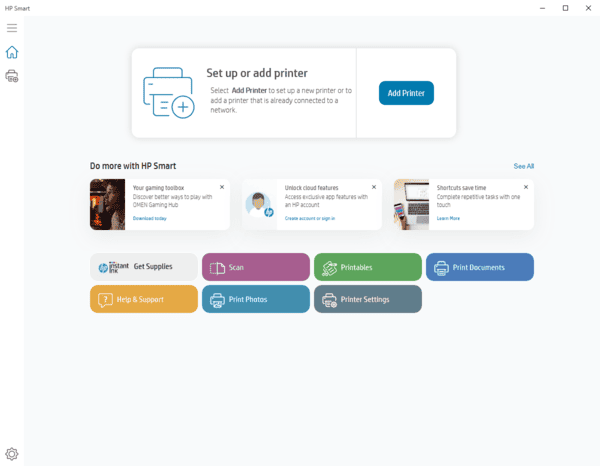
Open the HP Smart app on your PC and check the printer dashboard. Ink levels are displayed visually for each cartridge. If any cartridge is critically low or empty, replace it before attempting other fixes
Note that some HP printer models stop all printing activity when even one color cartridge runs out, including black-only print jobs. If that applies to your model, replacing the depleted color cartridge restores full functionality even for documents that contain no color
Fix 2: Remove Protective Tape from New Cartridges
Every new HP ink cartridge ships with a plastic pull-tab or orange tape covering the ink nozzles and the copper electrical contacts. This tape must be completely removed before installation. If any portion remains, ink cannot reach the paper and every page will print blank
Remove the cartridge from the printer and inspect it carefully. Peel off any remaining tape or plastic film. Check that the copper contact strip is clean, unobstructed, and making full contact with the corresponding contacts inside the printer when reinstalled. Reinsert the cartridge firmly until it clicks into place and run a test print

Fix 3: Clean the Printhead
For a more thorough clean, remove the cartridge from the printer. Dampen a lint-free cloth with a small amount of distilled water — not tap water and not rubbing alcohol. Gently wipe the nozzle area on the printhead
Allow it to dry completely before reinstalling the cartridge. This manual method is effective for printheads that have been blocked for a long time
Fix 4: Print a Test Page to Isolate the Problem
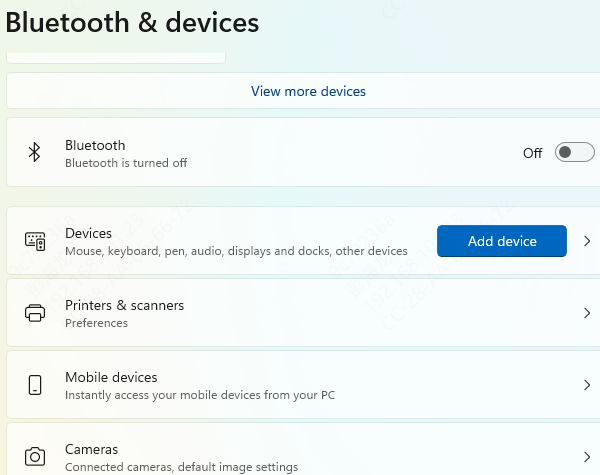
Go to Settings, then Devices, then Printers and scanners. Select your HP printer and click Manage, then Print a test page. Alternatively, press and hold the Resume button on the printer itself for three seconds
If the test page prints correctly with visible content, the printer hardware is working. The blank output is coming from the document, the application, or the printer driver
Fix 5: Update or Reinstall the Printer Driver
A corrupted printer driver causes Windows to send malformed or empty data to the printer. The printer receives the job, feeds the paper, and outputs a blank page because the data it received contained nothing printable. This is particularly common after Windows 10 and Windows 11 feature updates that overwrite the existing HP driver with an incompatible generic version.
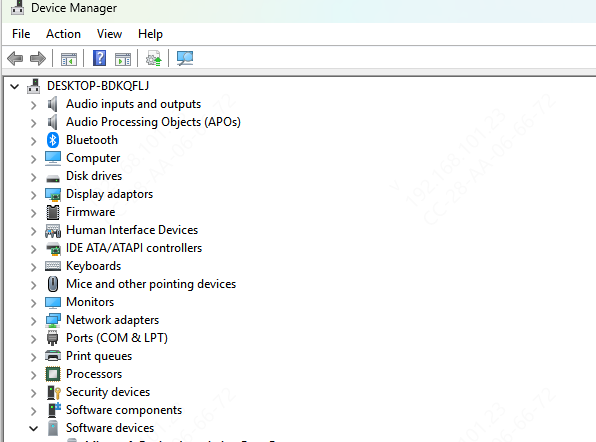
Manual method: press Win + X and open Device Manager. Expand Printers. Right-click your HP printer and select Update driver. Choose Search automatically for drivers. If Windows finds and installs an updated driver, restart and test.
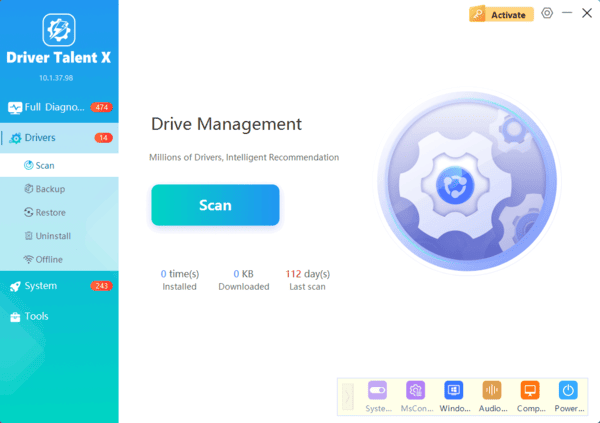
If the HP installer fails or the issue reappears after reinstallation, use Driver Talent X. It identifies your HP printer by hardware ID and installs the exact correct driver version without requiring you to navigate HP's download center or select the right package manually.
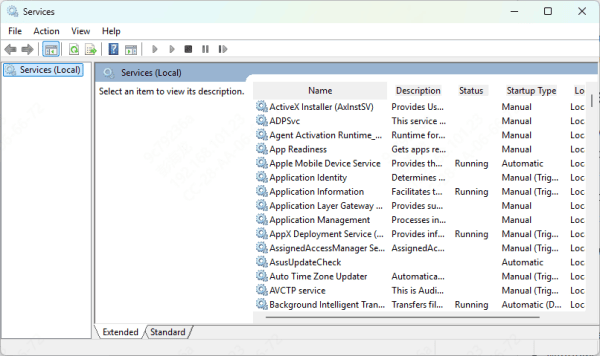
Fix 6: Clear the Print Queue and Restart the Print Spooler
If jobs refuse to cancel through the normal interface, you need to stop the Print Spooler service manually. Press Win + R and type services.msc. Find Print Spooler in the list, right-click it, and select Stop
Open File Explorer and navigate to C:\Windows\System32\spool\PRINTERS. Delete all files inside that folder — do not delete the folder itself. Return to Services, right-click Print Spooler, and select Start. Retry the print job
Fix 7: Check the Document Itself
White text on a white background is a common culprit, particularly in documents copied from websites where text was originally displayed in white against a dark background. Select all content in the document with Ctrl + A, change the font color to automatic or black, and print again
For PDF files that produce blank output, the PDF may contain invisible objects or improperly embedded content. Try opening it in a different PDF reader, or print it by first saving it as a different file format and printing from that
Always use Print Preview before sending any job to the printer to confirm the content is visible and correctly formatted on the page before it goes to print
Fix 8: Check Paper Type and Print Settings
Glossy or coated paper used in an HP inkjet printer set to plain paper mode can cause ink to bead up on the surface rather than absorbing into the paper. The result is a page that appears nearly blank or where ink wipes off easily
Before printing, open printer preferences and match the paper type setting to the actual paper loaded in the tray. For photo paper, select Photo Paper
For regular office paper, select Plain Paper. For HP laser printers, ensure the media weight setting matches the paper being used. Very light paper in a laser printer may not receive sufficient heat from the fuser to bond the toner permanently to the page
Conclusion
Blank pages from an HP printer come from two directions: hardware issues with ink, toner, or the printhead, and software issues with the driver, print spooler, or document formatting. The test page in Fix 4 tells you which direction to focus on. When the driver is the cause, Driver Talent X installs the correct HP printer driver automatically and handles cases where the official HP installer fails.
