Keeping your Intel device drivers current is essential for system stability, optimal performance, and accessing the latest features in Intel's integrated graphics, wireless cards, and chipsets. Outdated drivers can lead to crashes, connection drops, and reduced performance in games and professional applications.
Intel's official tool for this task is the Intel Driver & Support Assistant (DSA), formerly known as the Intel Driver Update Utility. However, this is not the only way to manage your drivers effectively. This guide walks you through the best methods, starting with the most convenient automated process.
Windows Built-in and Manual Methods
These methods are excellent if you prefer not to install extra software or if you are only targeting a single device update.
Method 1: Updating via Windows Device Manager
This is the standard Windows method for checking driver updates, relying on Microsoft's driver database.
Open Device Manager: Press Windows Key + X and select "Device Manager" from the list.
Locate Device: Expand the category for the device you want to update (e.g., "Display adapters" for Intel Graphics).
Update Driver: Right-click on your specific Intel device (e.g., "Intel(R) Iris(R) Xe Graphics") and select "Update driver".

Search Automatically: Choose "Search automatically for drivers". Windows will check its online database for a compatible update and install it if found.
Method 2: Using Windows Update (Optional Updates)
Windows Update often holds specific Intel drivers that may not be immediately available through the Device Manager's right-click search.
Open Settings: Press Windows Key + I to open Settings.
Navigate to Updates: Go to "Windows Update" (or "Update & Security" on older versions).
Check Optional Updates: Click "Advanced options", then look for "Optional updates".

Select and Install: Expand the "Driver updates" section. Select all listed Intel-related drivers and click "Download & install".
Intel's Official Utility
Intel's proprietary tool is the manufacturer's recommended method for managing their specific hardware.
The Intel DSA is a free utility that automatically detects and installs the necessary updates for your Intel hardware.
Download Intel DSA: Go to the official Intel website and download the Intel Driver & Support Assistant (DSA) Installer.
Install and Launch: Run the downloaded .exe file. Read and agree to the license terms and click "Install". Once installed, launch the app.
Automatic Scan: The DSA tool will automatically open in your web browser and perform a quick scan of your system's Intel components (e.g., integrated graphics, Wi-Fi, Ethernet, Chipset).

Review Updates: The DSA dashboard will display any available updates for your Intel products.
Download and Install: Click the "Download" button next to each recommended update, and then click "Install". The tool handles the download and installation process directly.
Restart: Follow the on-screen instructions, which will typically prompt you to restart your system after the installation is complete.
Automated and Reliable Driver Management
While Intel's official tool is effective, third-party utilities can often offer broader coverage and a more streamlined update process across all your hardware brands.

Download and Install:
Click the "Download" button to download the software package.
Install it onto your Windows PC.
Run Scan:
Launch the software and go to "Drivers" > "Scan", click "Scan".
The tool will comprehensively analyze all system hardware, including your Intel CPU, graphics, and other Intel components.

Execute Update:
After the scan is complete, the software will display a list of all drivers that need attention. Select the outdated Intel driver entries and click the "Upgrade" button.
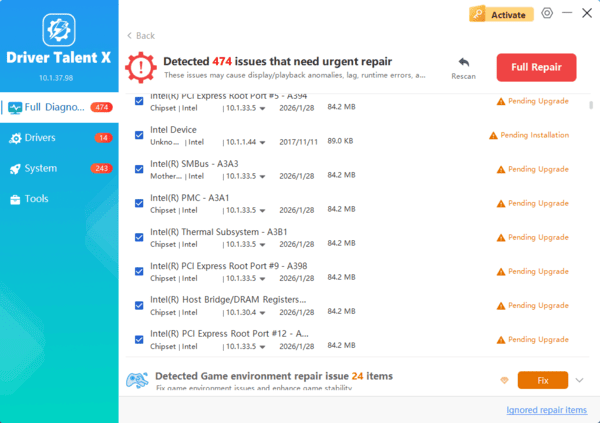
The tool will handle the entire installation process, ensuring that the old files are properly removed before the new ones are installed, bypassing common errors.
Restart Your PC:
Once the process is finished, restart your computer to fully integrate the new drivers and apply all changes.
Conclusion
Keeping your Intel device drivers current is vital for maintaining a fast, stable, and secure Windows environment. Whether you choose Driver Talent X or the traditional manual methods through Windows, consistency is key. By using one of these reliable methods, you ensure your Intel components are always running on the latest, most optimized software.
